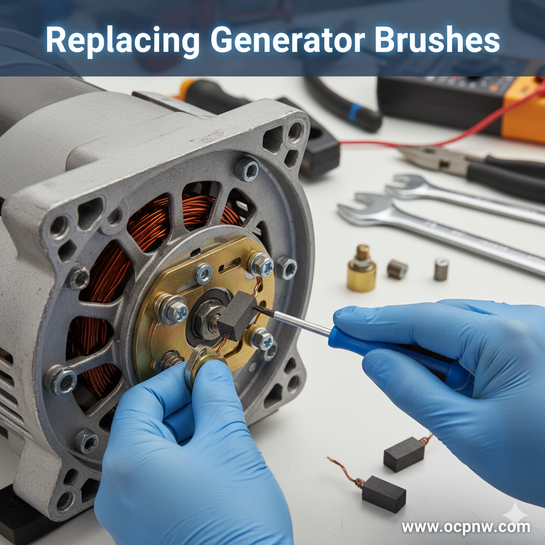
Step 1: Preparation and Safety First
Before you grab a single tool, you need to prepare. Make sure you have the correct replacement brushes for your generator's make and model. While they all look similar, the dimensions and terminal types can vary. You'll also need a basic toolset including wrenches, screwdrivers (a magnetic one is a lifesaver), and a small container for screws.
Crucially, disconnect the battery's negative terminal. This is non-negotiable and ensures that you won't accidentally short out any part of the electrical system while working.
Step 2: Access the Generator and Brushes
Depending on your vehicle, you may be able to replace the brushes with the generator still mounted on the engine. Look for a large, rounded end cover on the back of the generator, typically held on by a few long screws or bolts. Carefully remove these screws and pull off the cover.
Pro-Tip: If the generator is difficult to access on the engine, it's often easier to unbolt it and work on a clean bench. This gives you better visibility and maneuverability, especially with the small components inside.
Step 3: The Brush Swap
Once the cover is off, you'll see the brushes nested in their holders. They are usually held in place by small springs and secured by a screw that attaches the brush's wire lead to the generator's terminal.
-
Observe the Old Brushes: Before removing anything, take note of how the brushes are oriented and seated in their holders. This is key to installing the new ones correctly.
-
Disconnect and Remove: Using a small screwdriver, carefully unscrew the wire lead from its terminal. The old brush and its spring can now be removed.
-
Clean Up: Take a moment to inspect the commutator—the smooth, copper surface on the armature where the brushes make contact. Use a clean cloth to wipe away any carbon dust or debris.
-
Install the New Brushes: Place the new brushes into their holders, making sure the springs are positioned correctly to apply pressure to the brush face. Reconnect the wire leads to the terminals and tighten the screws. Be careful not to drop the tiny screws inside the generator housing—a magnetic screwdriver will be your best friend here.
Step 4: Reassembly and Testing
With the new brushes in place, carefully put the end cover back on, ensuring that the wires don't get pinched. Bolt the generator back onto the engine if you removed it, and reconnect all of its wires.
Finally, reconnect the negative battery terminal, start the engine, and check your dashboard's voltage gauge or use a multimeter. A healthy charging system should show a voltage reading of around 13.5 to 14.5 volts with the engine running. If the voltage is within this range, you've successfully restored your generator's charging ability!

